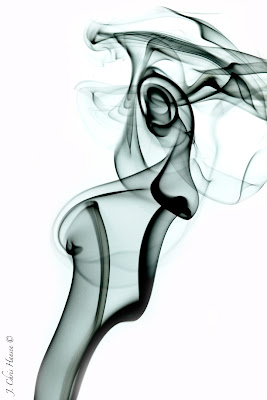
You have probably seen some of those cool images of swirling smoke. If you have a DSLR camera and an external flash, flash cord and some black foamcore you would be surprised how simply it can be done. A basic set up consists of
∆ Flash gun
∆ flash cord
∆ DSLR camera
∆ A black piece of foam core or black tag board roughly 18' x 24" in size
∆ A smaller piece of foamcore or tagboard roughly 8"X10" in size
∆ Incense Stick and holder(or something nonflammable to keep the house from burning down)
∆ A small to medium desk lamp
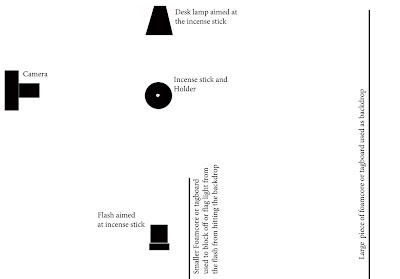
Work on a kitchen table or a large flat surface in dim light. It doesn't have to be pitch dark.
1. Set the incense stick and holder about a foot from the edge of the table
2. Prop up the large piece of foamcore two feet behind the incense stick and holder
3. One foot to the left of the incense stick set up the desk lamp and aim it at the top of the incense stick.
4. One foot to the right and at a height of about four inches above the incense stick prop up the flash on some books blocks or whatever you have to get it to that height.
5. Light the incense stick and turn on the flash and the desk lamp.
6. Prop up the smaller foamcore piece behind the flash to block light from the background.
7. Hand hold your camera and focus on the tip of the incense stick to help get prefocus.
8. Then use the desk lamp to help you focus on the smoke.
9. Check your histogram after each of your first images to check focus and exposure.
To create a white back ground I do that in post processing in Photoshop.
1. Open up the image in Photoshop. Adjustment- levels. Slide the levels slider slightly to the right to make sure the blacks are solid black.
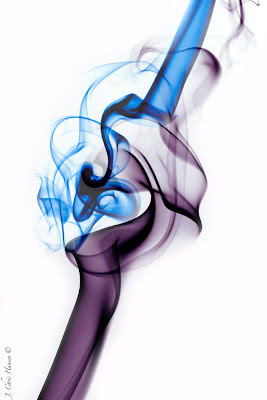
2.Then create a hue/saturation layer and click the colorize box.
3.Use the hue slider to choose a color for the smoke
4.Bump up the saturation using the slider to about 55.(If you like it that intense)
5.Drop down and click the mask layer and change the opacity to 45 or 50%
6. Now click on the background layer.
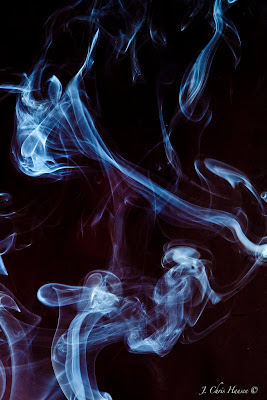
7. Go up to Adjustments-invert.
That is all there is to it.
Go out and make some smoke1!
God bless,
chris
 Step 1
Drill a 1/4 inch hole into the bottom edge of the plastic jar. Get it as close to the edge as you can.
Step 1
Drill a 1/4 inch hole into the bottom edge of the plastic jar. Get it as close to the edge as you can.

 Step 2
Using the two wood screws fasten the jar to the side of a nice looking piece of wood or a branch. Make sure that you feeder hole is just slightly above the bottom edge of the wood or branch so it can't be seen.
Step 2
Using the two wood screws fasten the jar to the side of a nice looking piece of wood or a branch. Make sure that you feeder hole is just slightly above the bottom edge of the wood or branch so it can't be seen.

 Step 3
Fill the jar with black sunflower seed and put the lid on.
Step 3
Fill the jar with black sunflower seed and put the lid on.
 Step 4
Set this up in a good place near your bird feeders and wait for it to start being used. Now photograph some birds with it!
Step 4
Set this up in a good place near your bird feeders and wait for it to start being used. Now photograph some birds with it!

 Please note this feeder does not work well around squirrels as given time they will chew holes into it.Perhaps make one made of metal!


