



Greetings to all you DIY Photographers,
It has been awhile since my last posting. I have ben really busy shooting images of birds, Round Ups, turtles, millipedes and a number of portraits among other things. You would think that somewhere in there I have a life.. Through all of this has been my burning desire to create a new chair blind. I have been using an Ameristep chair blind for a lot of my nature photography. It works really well but i have found after a lot of usage that it lacks a few things for photographers as it was designed as a hunting blind. The biggest problem with it is that the front of the blind is too far away from the seat. This is because it was designed with a rifle barrel in mind. The second thing is that the visibility out to the side is very limited. Last of all is that it is fairly heavy. With those thought in mind I set out on a quest to build a reasonably cheap chair blind.
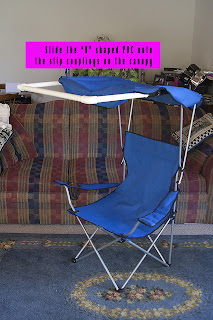
Step 1 was to find a good chair. The best thing i found was a folding camping chair with a canopy sunshade at Rite Ade for 23 bucks.
Step 2 was to buy some camo fabric at Wally world for 23 bucks.
So now onto building the blind.
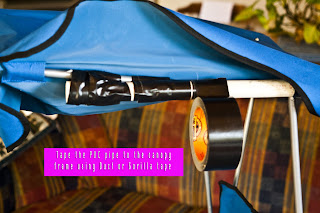
Step 3 I taped a piece of 3/4" PVC pipe and a slip coupling to the canopy frame
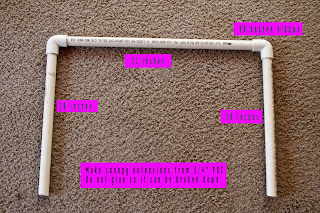
Step 4 I made a "U"shaped extension with 3 pieces of PVC pipe and a couple of 90 degree elbows. This slipped right into the slip couplings on the canopy. These were not glued so it would be easy to break down and transport.
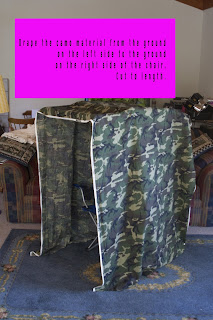
Step 5 I set the chair up in my living room and measured from the ground on the right hand side oft he chair up over the top of the chair and down the left hand side of the chair to the ground. I cut a piece of fabric this long and draped it up over the chair. Be sure to add 1/2 inch all around for the seams.
Step 6 I measured the front and back of the chair and cut two panels adding 1/2' to all sides for the seams.
Step 7 I sewed the top of the front and back panels to the top of the blind.
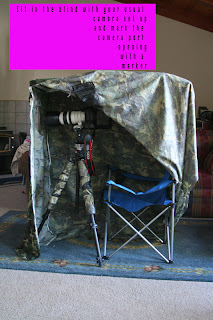
Step 8 and 9 I sat in the blind with my camera,lens and tripod and i marked where the lens port opening and viewing ports should be with a marker.
Step 10 I cut the lens port and i sewed a flap to cover it.
Step 11 I cut the viewing ports and I covered them by sewing mesh over the openings.
Step 12 I sewed the corners of the blind together on right front and both back corners
Step 13 The final step was to use a snap tool and add black metal snaps to the front left corner of the blind for access to get in and out of the blind.
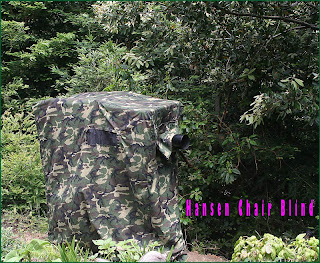
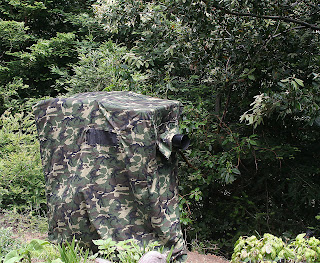
So there you have it. A DIY Chair Blind costing less than half what a commercial hunting blind would cost and being lighter and far more cameraa friendly to use.
God's blessings to all,
Chris
